Tile levelling system: which clip to choose and consumption per m²
A tile levelling system keeps neighbouring tiles at the same height until the adhesive sets. You can use it for floor and wall tiles, and it pays off especially with large formats and rectified tiles, where every bit of lippage shows. We explain how the system works and which clip to choose for the tile thickness and joint width. Levelling clip consumption per m² then depends on the tile format, and you can work it out from the table below.
How a tile levelling system works
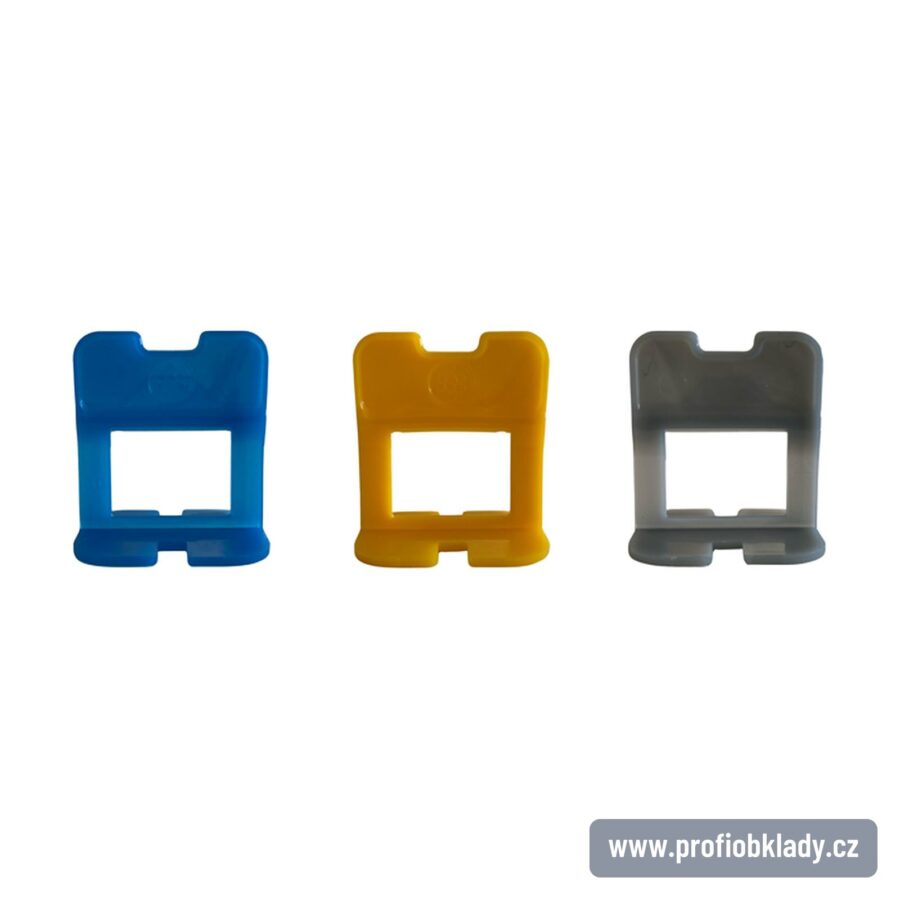
- The clip is placed under the tile and grips the edges of neighbouring tiles. It is made for different tile thicknesses and joint widths.
- The wedge slides into the eye of the clip and brings both tiles level with each other.
- Pliers tighten the wedges with the same force every time.
Once the adhesive has hardened, the top part of the clip is snapped off and the bottom part stays in the adhesive. The wedge is removed and you can use it again. So the clips are used up, but the wedges are not.
Which clip to choose
You choose the clip by the tile thickness and the joint width you want.
| Clips for tile thickness | Joint width | Pack |
|---|---|---|
| Clips 3–12 mm | 0.5 / 1 / 1.5 / 2 / 3 mm | crate 3 000 pcs |
| Clips 10–22 mm | 2 mm | box 2 000 pcs |
| Clips 13–24 mm | 1 / 1.5 / 2 / 3 mm | crate 3 000 pcs |
For thinner floor and wall tiles up to 12 mm there are 3–12 mm clips with the widest choice of joints. For thick paving, say 20 mm, use 10–22 mm clips with a 2 mm joint, or 13–24 mm clips, for which you can choose a 1, 1.5, 2 or 3 mm joint. If the tile thickness falls into two ranges, the joint width decides.
Everything comes in neutral bags with Czech instructions, so you can offer it straight away in builders’ merchants too.
Laying tiles with clips
- Apply the adhesive and lay the tile.
- Place clips under the edges of the tile.
- Place the neighbouring tile; the clip grips the edges of both tiles.
- Slide a wedge into the eye of the clip and tighten it with the pliers. A scratch protection pad protects the tile surface while you do this.
- Once the adhesive has hardened, the top parts of the clips are snapped off and the wedges removed; the bottom parts of the clips stay in the adhesive. Then grout the joints.
Pliers and pads
With pliers, work on large areas is faster, easier on your fingers, and the tiling ends up flatter because every wedge gets the same pressure. To stop the pliers marking the tile surface, use a scratch protection pad. It protects the tiles when tightening with the pliers and when handling them by hand, comes in bags of 200 and is made in Italy.
Levelling clip consumption per m²
Consumption depends on the tile format and how many clips you put on each edge. The longer the edge, the more clips, so that the tile is levelled along its whole length. Each tile shares its edges with its neighbours, so each tile in the area accounts for two edges, one lengthwise and one crosswise. So per m² you need:
clips per m² = (clips on the lengthwise edge + clips on the crosswise edge) × tiles per m²
Tiles per m² equals 1 divided by the area of one tile in m², so for a 60 × 60 cm format it is 1 : 0.36 ≈ 2.78.
| Tile format | 1 clip per edge | 2 clips per edge | 3 clips per edge |
|---|---|---|---|
| 30 × 60 cm | 11 | 22 | 33 |
| 60 × 60 cm | 5.6 | 11 | 17 |
| 60 × 120 cm | 2.8 | 5.6 | 8.3 |
| 120 × 120 cm | 1.4 | 2.8 | 4.2 |
Example: a 40 m² terrace in 60 × 60 cm tiles with two clips on each edge. That gives 4 clips per tile, so 4 × 2.78 ≈ 11.1 clips per m² and 40 × 11.1 ≈ 444 clips for the whole terrace. A crate of 3 000 pieces covers roughly 270 m² of such tiling. Edges along walls do not need clips, whereas cut pieces add a few more, so treat the result as an estimate.
You need as many wedges as the number of clips you lay in one go before the adhesive sets. Then you remove them and use them again. We sell wedges in lots of 1 000, in bags of 250 or 100.
Screws or spacers instead of clips
A screw tile levelling system works without wedges. The levelling screw is placed under the joint and the nut screwed onto its thread presses the tiles level. The screws are for tiles 3–15 mm thick and joints of 1, 1.5 or 2 mm. A 4 or 5 mm joint, for which there are no clips, can be held with tile spacers, but these do not level the tiles. You will find clips, wedges and pliers in the levelling clips category.
Levelling clips, wedges and pliers
Clips for tiles 3 to 24 mm thick and joints of 0.5 to 3 mm, reusable wedges and pliers. All in neutral bags with Czech instructions.