How to lay paving on pedestals
Paving on pedestals does not lie in adhesive but above the base. Adjustable pedestals raise it, spread the load and leave a free space under the floor. The floor is therefore ventilated and the waterproofing underneath remains accessible for inspection and repairs. Laying paving on pedestals is clean and fast work if you prepare it well. Here is the step-by-step procedure.
What you will need
- Pedestals at the height that matches the floor build-up, see step 2.
- Paving: porcelain paving or stone slabs.
- Accessories depending on the location: self-levelling rings, rubber pads, end-stop clips along walls, perimeter boards and corner pieces.
- Tools: a tape measure, a long spirit level or straightedge, an adjustment key, a paver lifter and, for large formats, a slab carrier.
1. Prepare the base
Pedestals need a firm, load-bearing base, typically the concrete slab of a terrace or balcony with finished waterproofing. The base usually has a fall so that water drains away; a slope of up to 5 % is compensated by the self-levelling ring (step 2). Sweep the area before laying so that the pedestals stand firmly.
2. Measure the height and choose the pedestals
The pedestal height is the distance from the base to the underside of the paving. Decide where the finished floor should be, for example below the door threshold, and subtract the thickness of the paving. Because of the fall, measure at the highest and the lowest point so that you know what range of heights you need.
- 7 mm: rubber pedestal for very low build-ups.
- 10–15 mm: the lowest adjustable pedestal, reaches a height of 25 mm with two 5 mm extensions.
- 14 and 17 mm: 14 mm and 17 mm fixed pedestals where there is little room for the floor build-up, for example at low thresholds.
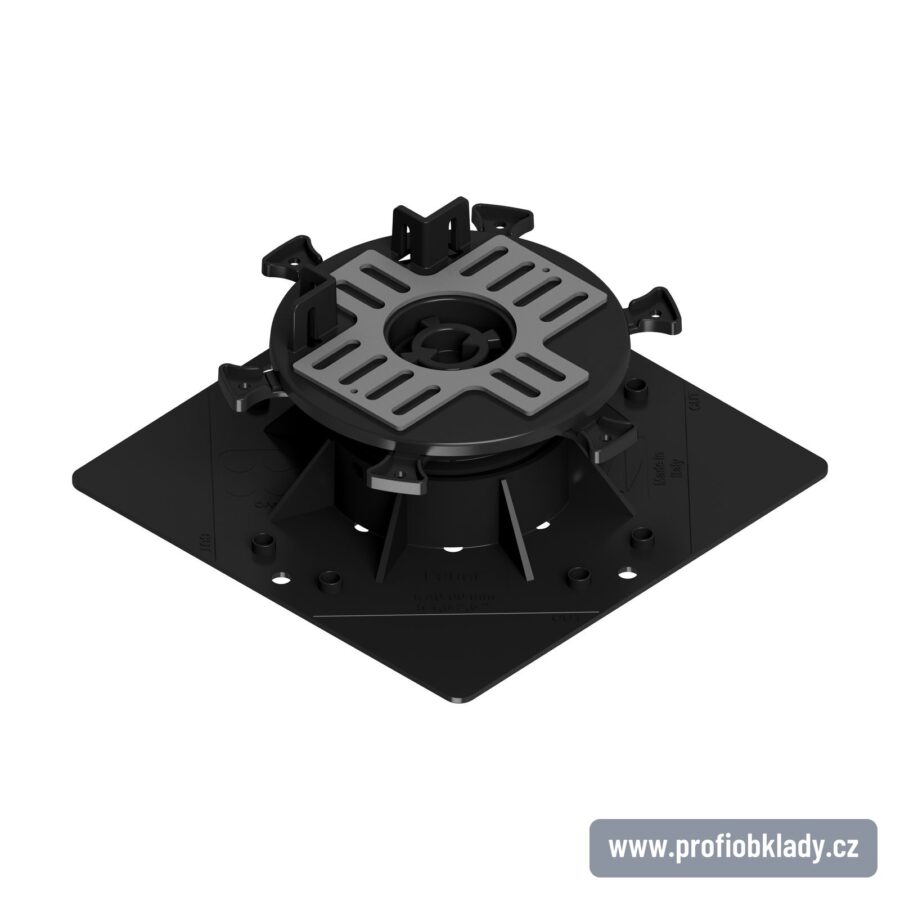
- 25–40, 40–60, 60–100 and 100–180 mm: adjustable pedestals with a square base.
- Up to 420 mm: raise pedestals from 40 mm in height with 20 mm and 80 mm extensions; a maximum of three can be stacked.
If the base has a slope, fit a self-levelling ring onto the pedestal head. It turns the fixed head into a self-levelling one, compensates for a slope of up to 5 % and makes the pedestal more stable. The ring fits adjustable pedestals of 25–180 mm.
3. Add rubber pads above a living space
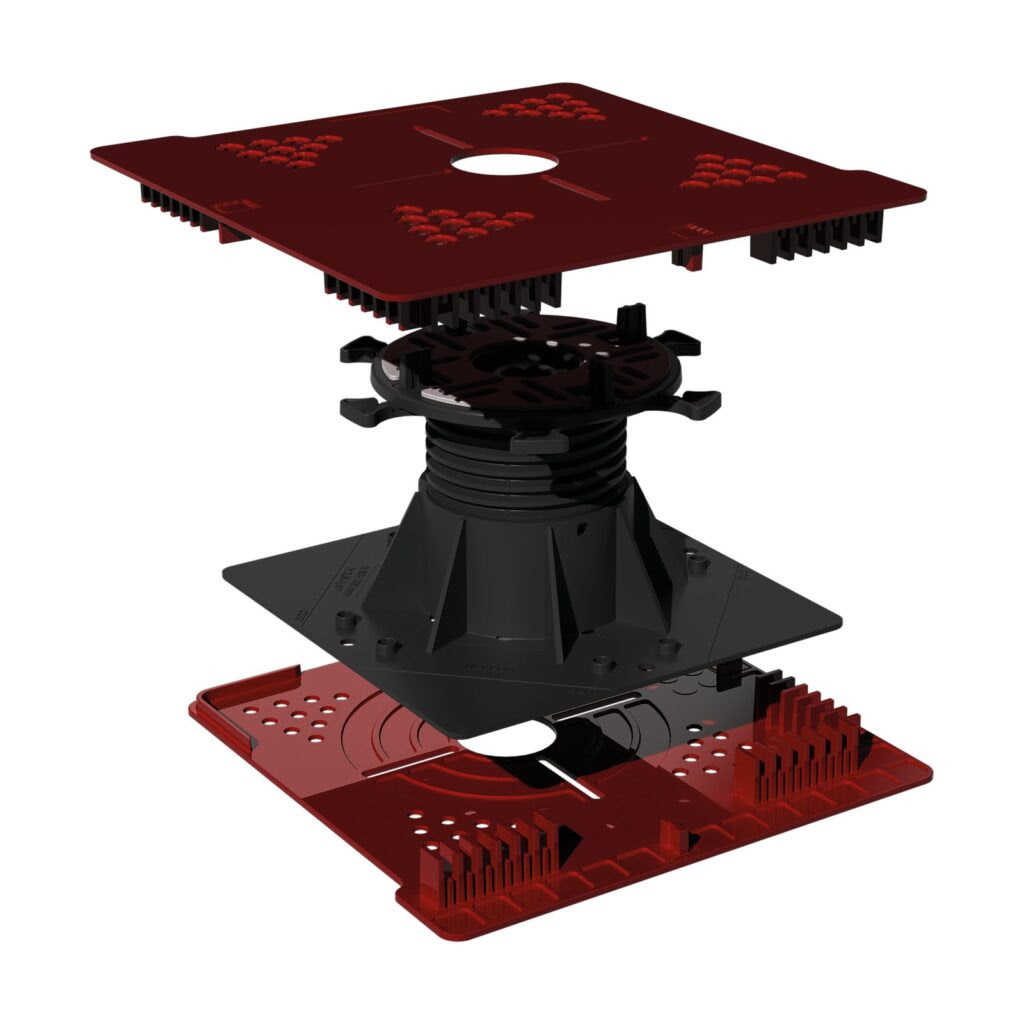
A rubber pad of 200 × 200 mm goes under the pedestal base. It dampens impact noise and vibrations from footsteps, so it is especially suitable for terraces above living spaces. You can use it under all pedestals in our range.
4. Plan the paving layout
Before you place the first pedestal, draw up the layout of the area. Start from the most visible edge, usually from the door or the house wall, so that cut pieces end up on the less visible edge. Pedestals go under the corners of the slabs where the slabs meet, and along walls and edges under the corners of the edge slabs. For large formats, follow the paving manufacturer's recommendation on whether the slab also needs support in the middle.
We will prepare a pedestal laying plan for you free of charge. Just write the dimensions of the area in the order note or in a quote request.
5. Place the pedestals and the first row
Start laying at the wall. Adjustable pedestals have a square base that takes up the same area as a round one, but you do not need to cut it at the wall. Fit a paving end-stop clip onto the pedestals along the wall. It always keeps the last slab at the same distance from the wall and stops it from sliding.
Lay the slabs so that every corner rests on a pedestal head. The spacer tabs on the head create an equally wide joint between the slabs over the whole area.
6. Level the floor
You adjust the height of adjustable pedestals from the side. Pedestals with 4 mm tabs on the head can also be adjusted from above with the adjustment key, so you can level the floor even after the slabs are laid. Check the plane with a long spirit level or straightedge across several slabs in both directions. Lift a slab that does not sit right with the paver lifter, using one hand, and correct the height of the pedestal beneath it. Slabs can be lifted the same way later on, for example to inspect the waterproofing.
7. Finish the edges, fronts and steps
- The free edge of a terrace or pool is secured by a perimeter board so that the edge slabs do not shift or tip over. It attaches to the pedestals with a dovetail joint without tools, and an edge profile fits into the side groove of the board.
- Fronts and steps can be clad using the corner piece for bonding paving. The lower plate of the piece goes under the pedestal base, the upper one on its head, and holes and side ridges guide the adhesive. The piece is designed for adjustable pedestals from 25 mm and paving 20 mm thick.
- 60 × 60 cm paving can lie on a support grid, which keeps the floor safe even if a slab cracks.
Paving on gravel or a timber deck
On sand, gravel or grass, paving is laid on spacers for sand and gravel; in very soft soil use spiked spacers. A ground screw pedestal is screwed straight into undisturbed soil, so you can do without concrete footings and foundations. Build a deck of timber or WPC boards on decking pedestals. You will find all pedestals and accessories in the paving pedestals category.
Paving pedestals and accessories
Fixed and adjustable pedestals from 7 to 180 mm, extensions up to 420 mm, self-levelling rings, perimeter boards and other accessories from the Italian brand IMPERTEK, for which we are the official partner and distributor for the Czech Republic and Slovakia.